Shared guide
Model, background & pose
Who wears it, where they stand, and how: the same three controls for every garment.
These controls sit in section 3, Model, Background & Pose Options. Three cases change them:
- Innerwear: no model or background controls and no Model Image upload. Innerwear is set to an Indian Model on Light Grey Studio. Pose prompts still work.
- Jewellery in Bust / mannequin mode: model, background and pose are all hidden. See the jewellery guide.
- Flat Lay Photography: the same, for clothing. See Flat lay below.
Model
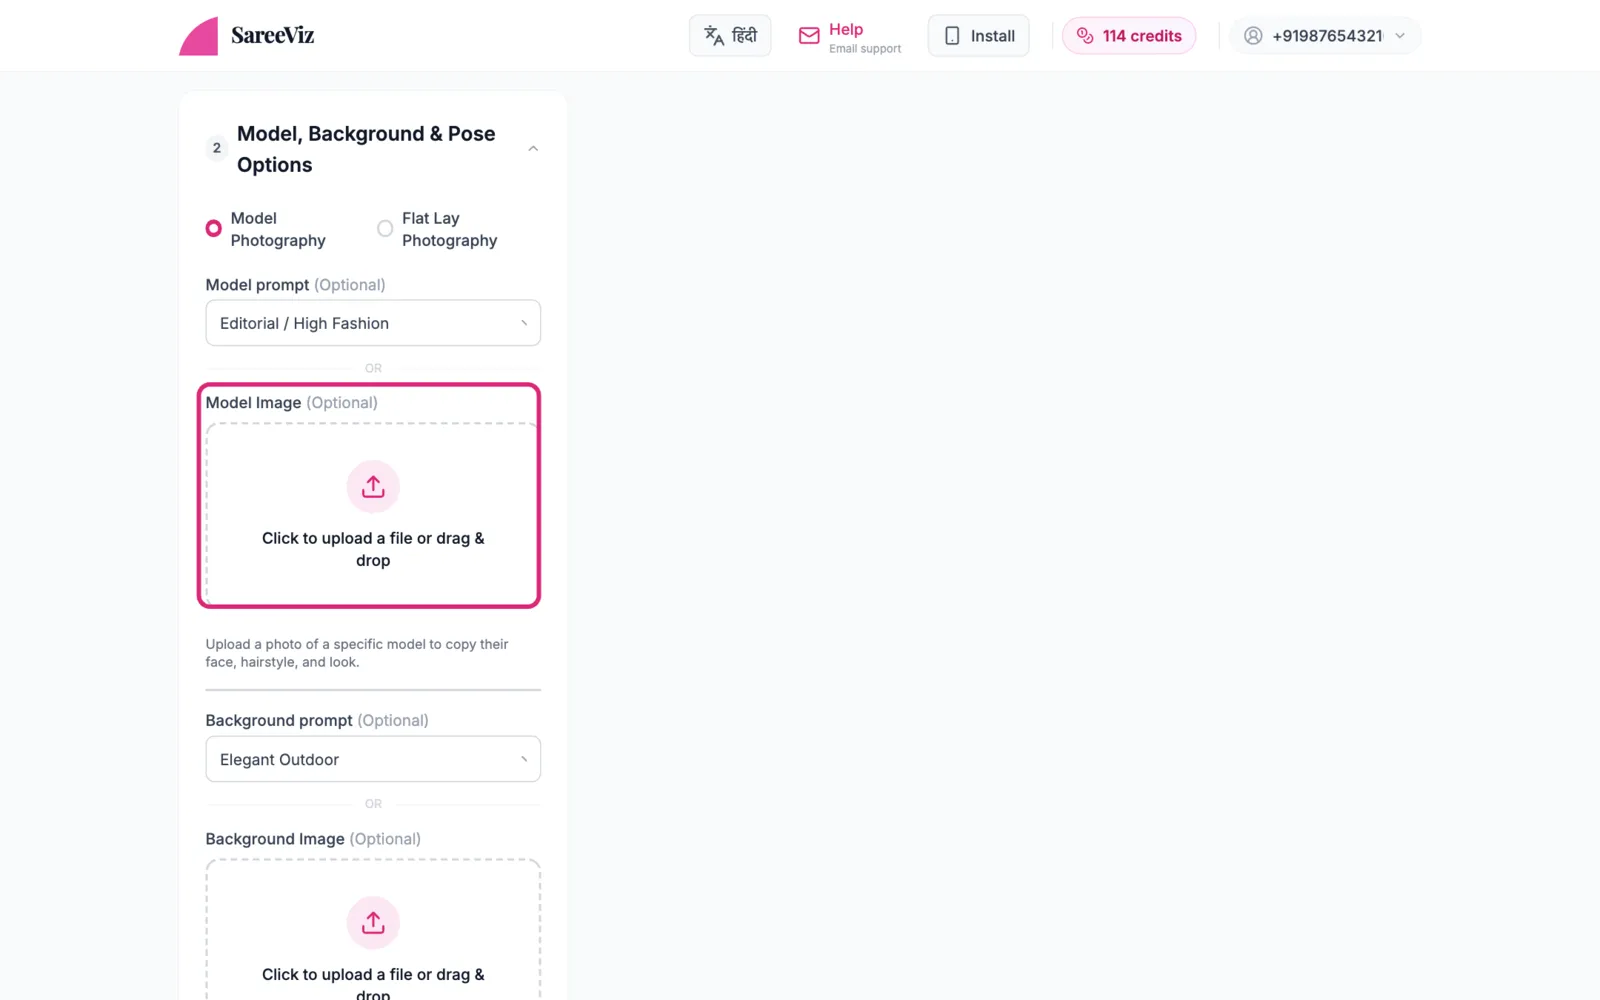
Pick a style from Model prompt, or upload a Model Image, which is a photo of the model whose face, hairstyle and look you want. Use the same Model Image across runs and your whole catalogue features the same model.
Background
Pick a Background prompt, or upload a Background Image of the exact scene you want: your shop, a wedding set, a plain wall. The AI recreates that scene behind the model.
The defaults are Editorial / High Fashion for the model and Elegant Outdoor for the background. Both lists have a Custom option at the top for writing your own; tap Save to My Prompts and it appears under My Prompts in that list next time, on any device.
Pose
Three ways, in order of ease:
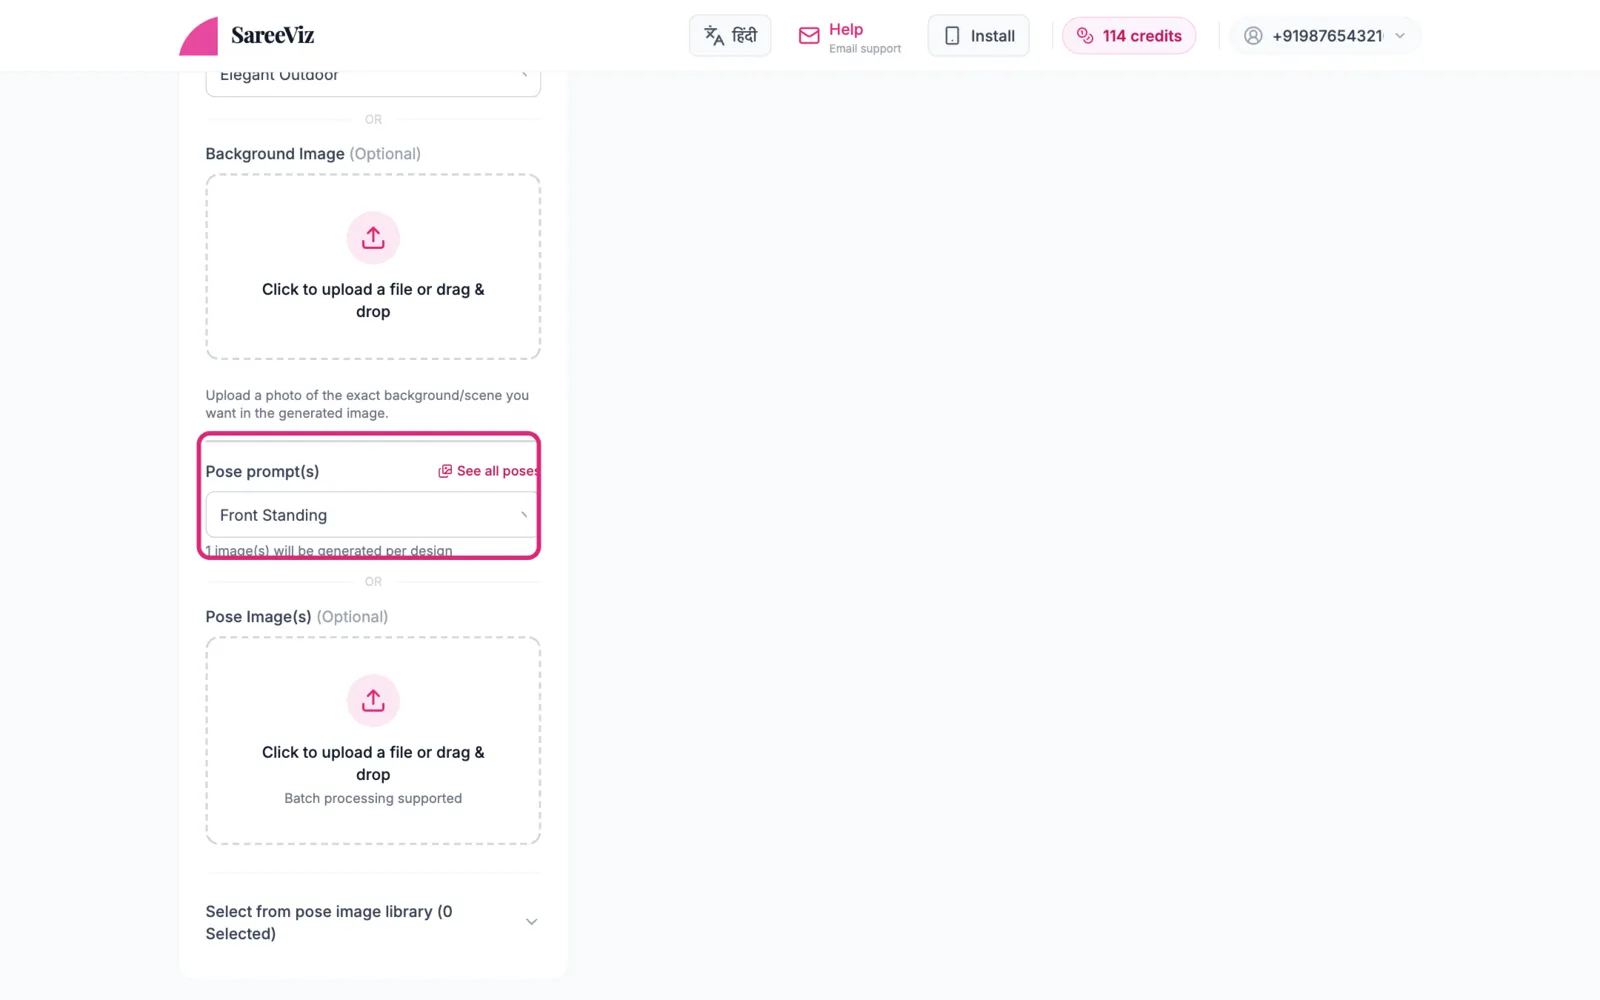
- Pose prompt(s): tick up to 10 from the list; each pose becomes its own photo. Front Standing is ticked to start with (Close-up Portrait for jewellery). See every pose on the same saree.
- Pose Image(s): upload photos of the exact body positions you want copied.
- Select from pose image library: for sarees, lehengas, salwar suits and stoles, a gallery of ready pose photos. Tap the ones you want.
Pose images, uploaded or from the library, replace the pose prompts, and together they are capped at 10. Untick every pose prompt and use no pose images, and the AI picks the pose itself.
Your own poses: My Poses
Open the Pose prompt(s) list and tap Add custom pose. Give it a name, describe the pose, and tap Save pose. It is saved under My Poses at the top of the list, ticked for this run and ready for the next. To start from a built-in pose, tap the pencil next to it: the pose opens filled in, and Save pose keeps your edited copy in My Poses. You can keep up to 20.
Flat lay instead of a model
At the top of section 3, switch from Model Photography to Flat Lay Photography for a product shot of the garment laid out, with no model. The model, background and pose controls disappear. In their place is an optional Flat Lay Style Reference: a photo of the surface, light and styling you want, such as a marble table or a wooden surface.