Guide · Innerwear
Innerwear photoshoot guide
Upload a set, get front, side and back views on a model, and make the back photo separately.
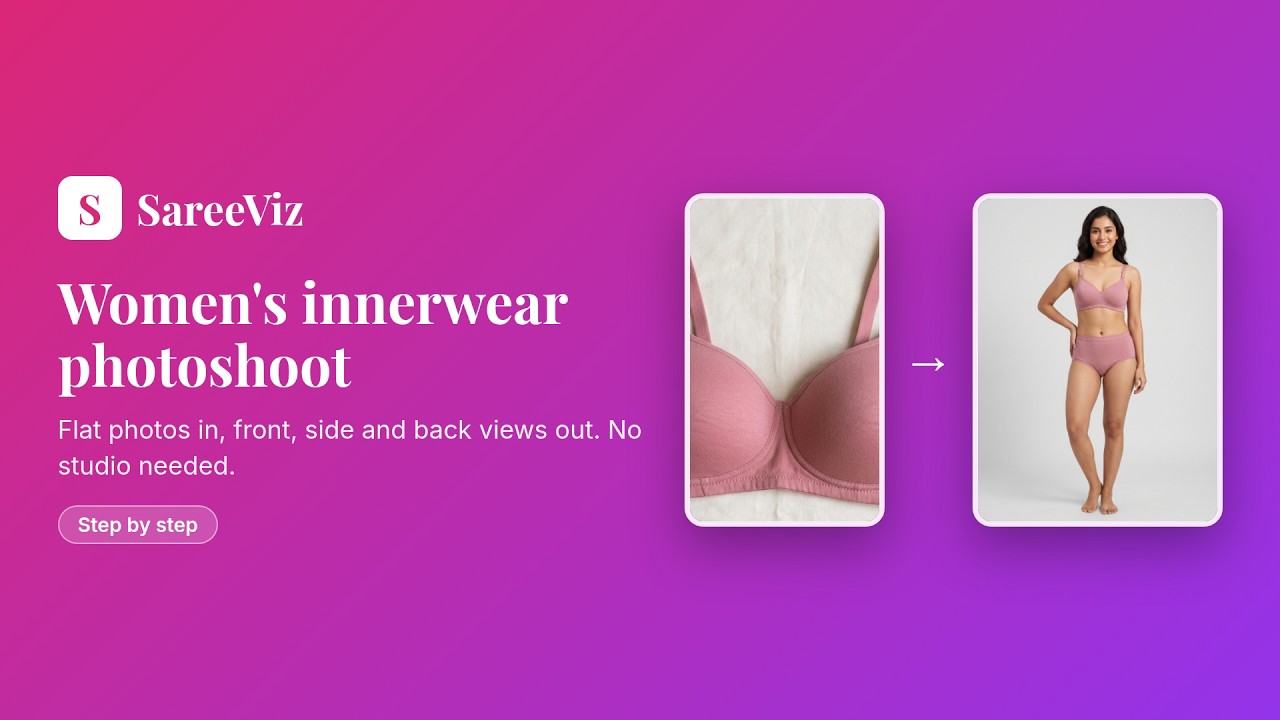

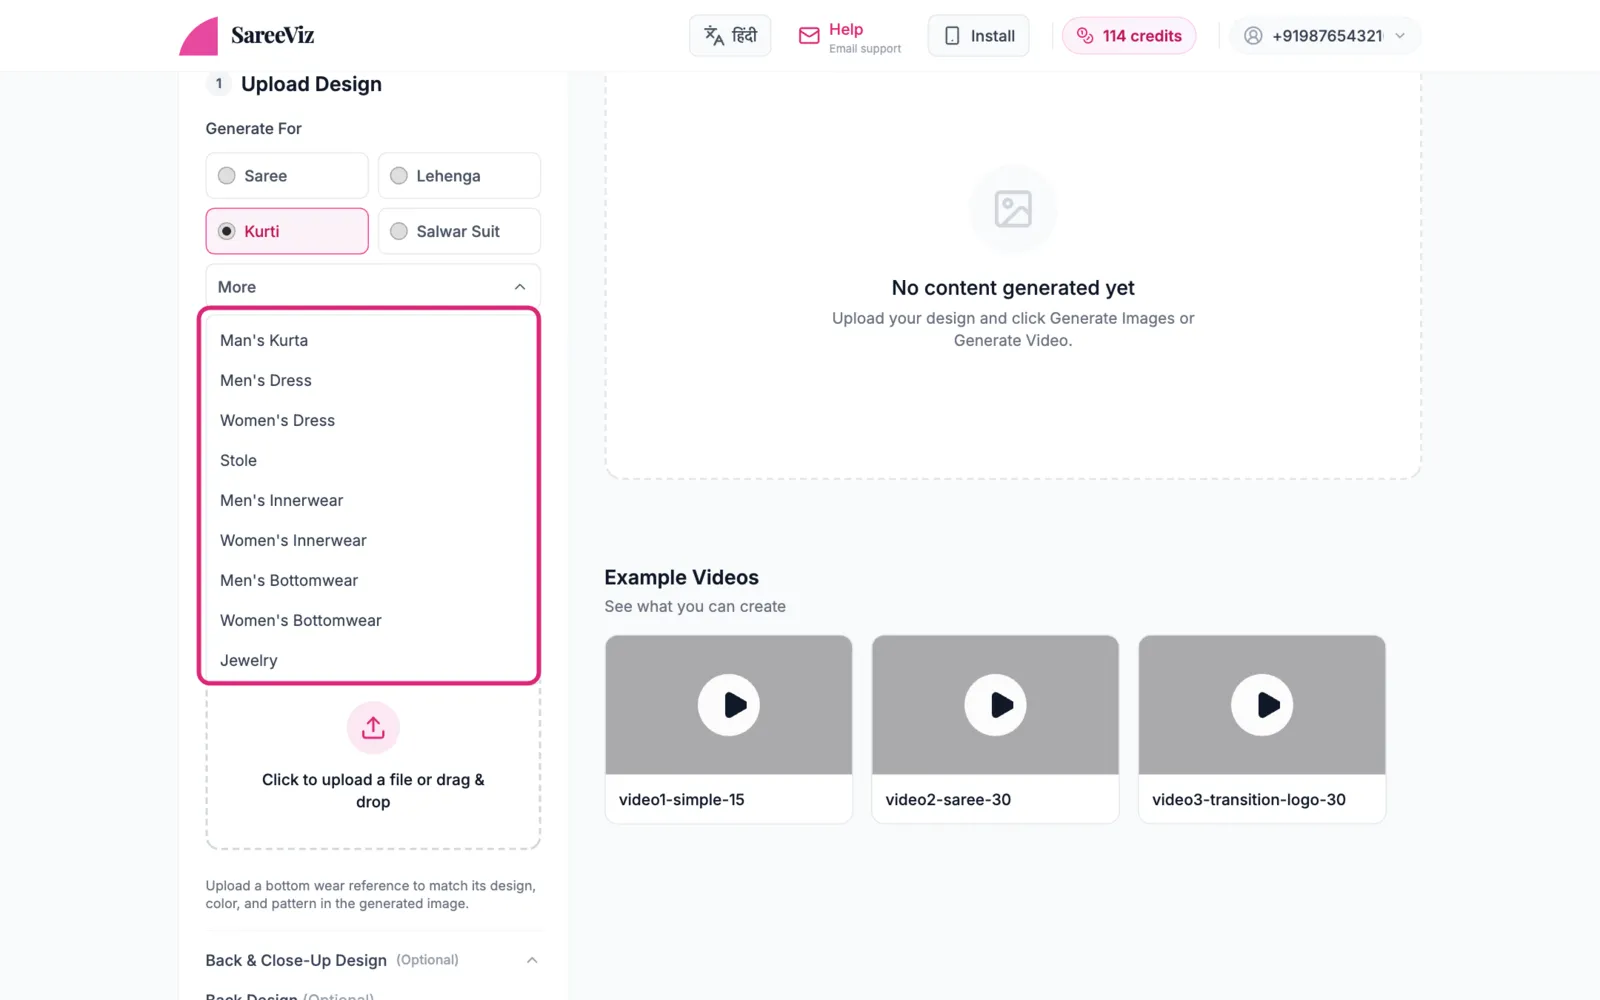
Find innerwear under More
Tap More in Generate For and pick Men’s Innerwear or Women’s Innerwear.
Upload the top piece
Add the front of the vest, bra or camisole in the design slot. Lay it flat in good light and crop it so only the garment shows.
Add the second piece
Innerwear is sold as a set, so it has a Bottom Design slot of its own. Upload the vest and the brief, or the bra and the panty, and both are worn together by the same model, each keeping the colour and design of its own photo.
Upload only the top piece and the rest of the outfit is plain and unbranded. A vest or camisole is worn with plain dark trousers, briefs or trunks with a plain white top, and a bra with plain briefs in the bra’s own colour.
Pick a marketplace
Innerwear can use the marketplace presets. You get three views, front, side and back, and on Amazon the photos come out square.
Make the back photo separately
With the front photo in as well, the AI can copy front details onto the back. So untick Back View and generate the front and side first.
- Remove the front photo from the main slot and leave it empty
- Open Back & Close-Up Design and upload the back of the top in Back Design
- In Bottom Design, swap in the back of the bottom piece
- Tick only Back View and generate
Everything else
Settings · Branding · Fixing a result